

To safely plan your outdoor grout and expansion joints, start by measuring the areas carefully and calculating the necessary quantities—adding about 10% for waste. Use the right tools and guarantee surfaces are clean and dry before applying. Choose weather-resistant grout and sealants designed for outdoor use. Proper installation of expansion joints helps prevent cracking from temperature changes. Keep safety gear on and avoid work during bad weather. If you keep exploring, you’ll find expert tips for lasting results.
Key Takeaways
- Measure joint length, width, and depth accurately to calculate grout volume and include extra for waste and miscalculations.
- Use an outdoor-specific grout and sealant calculator to ensure proper quantity and prevent shortages or excess.
- Follow safety protocols like PPE and weather considerations when handling materials and working outdoors.
- Proper surface cleaning and drying prior to grout application are essential for safe, durable bonding.
- Understand expansion joint placement and sizing to prevent structural damage and ensure long-term safety.
Understanding the Role of Grout in Outdoor Projects
While grout might seem like a simple filler, it plays an essential role in outdoor projects by providing stability and preventing movement between tiles or stones. Proper grout helps maintain the integrity of your surface, especially in weather-exposed areas. When selecting grout color, consider how it complements your overall design and the surrounding environment; lighter shades can brighten a space, while darker hues hide stains. Grout sealing techniques are vital to protect your work from moisture, dirt, and stains, especially outdoors. Applying a quality sealant creates a barrier that prolongs the lifespan of your grout and keeps it looking fresh. Using the right materials can significantly impact the durability and appearance of your outdoor surface. Understanding the significance of grout’s role ensures your outdoor project remains durable, visually appealing, and well-protected against the elements.
Types of Grout Suitable for Exterior Use
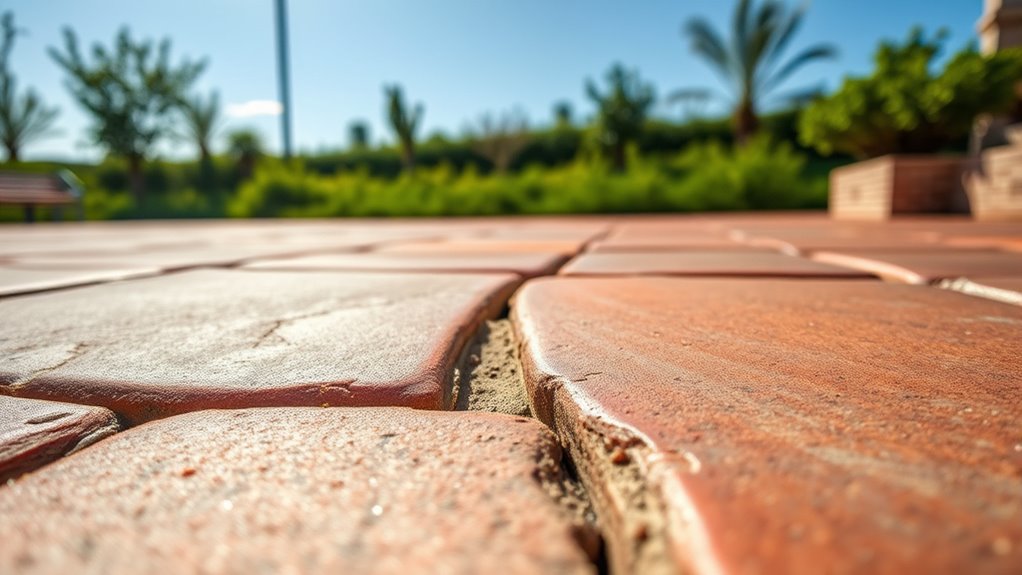
When selecting grout for outdoor projects, weather resistance is key. You’ll want to compare options like epoxy and cement grout to see which suits your needs best. Understanding the strengths and limitations of each helps guarantee your project withstands the elements. Additionally, considering angel number symbolism can provide insight into the importance of patience and trust during your project’s progress.
Weather-Resistant Grout Choices
Choosing the right grout for outdoor projects is essential because exposure to weather can cause standard grout to crack or deteriorate. Weather-resistant grout options help prevent damage and extend durability. For outdoor use, consider sanded or unsanded cementitious grout with added sealant choices for extra protection. These grouts are designed to withstand moisture, freeze-thaw cycles, and UV rays. Proper weatherproofing options make certain your project remains intact over time. Incorporating sound science into your selection process can further enhance longevity and performance.
Epoxy vs. Cement Grout
Epoxy and cement grout are both popular choices for outdoor projects, but they offer different benefits and limitations. Epoxy grout is highly durable, resistant to staining, and ideal for high-traffic areas, but it can be more challenging to work with and has limited color options. Cement grout, on the other hand, is easier to apply, more affordable, and offers a wider range of color selection, making it suitable for outdoor surfaces where aesthetics matter. However, cement grout is less resistant to water and stains unless properly sealed. Grout sealing is essential for both types to enhance durability and prevent moisture infiltration. Choosing between epoxy and cement grout depends on your project’s specific needs, including exposure to weather, desired appearance, and maintenance preferences. Additionally, weather resistance is a key factor to consider when selecting grout for outdoor environments to ensure long-term performance.
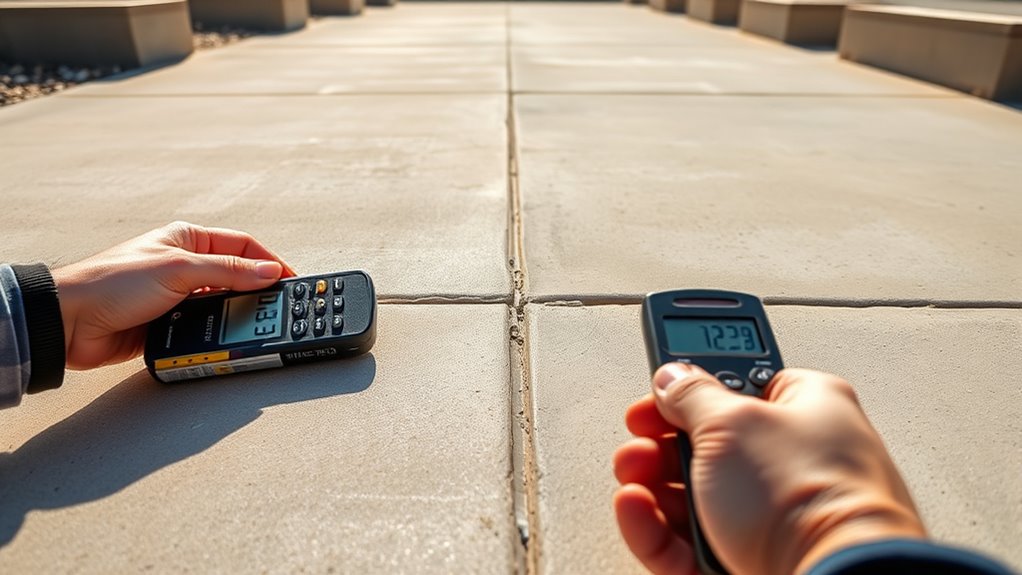
How to Calculate the Needed Amount of Grout

Calculating the amount of grout you need starts with measuring the area that requires filling. Measure the length and width of each joint or gap, then multiply these to find the area in square feet or meters. To guarantee a proper color match and seamless appearance, consider the type of grout and its consistency. When estimating, account for about 10% extra to cover spillage and slight miscalculations. If you’re applying sealant along the edges, include those areas in your measurements, as they often require different quantities. Keep in mind that thicker or deeper joints will need more grout. Using these measurements, you can accurately determine the amount of grout needed, ensuring efficient use and proper sealant application for a durable, attractive finish. Additionally, understanding the materials used in modern tableware can help select the most appropriate grout and sealants that complement your outdoor space.
Importance of Expansion Joints in Outdoor Structures

Expansion joints are essential in outdoor structures because they allow for movement caused by temperature changes, settling, and other environmental factors. Proper timing considerations guarantee you install these joints at the right intervals, preventing cracks and structural damage. Without them, expanding and contracting materials can lead to costly repairs or safety hazards. Additionally, expansion joints offer aesthetic options that blend seamlessly into your design, maintaining the visual appeal of your structure. They can be customized in size and color to match surrounding materials, ensuring functionality doesn’t compromise appearance. By including these joints, you provide your outdoor structures with flexibility and durability, accommodating environmental shifts without sacrificing style. Incorporate rustic lighting and other vintage elements to enhance both safety and visual appeal. Their importance cannot be overstated for long-lasting, safe, and attractive outdoor constructions.
Steps to Properly Install Expansion Joints
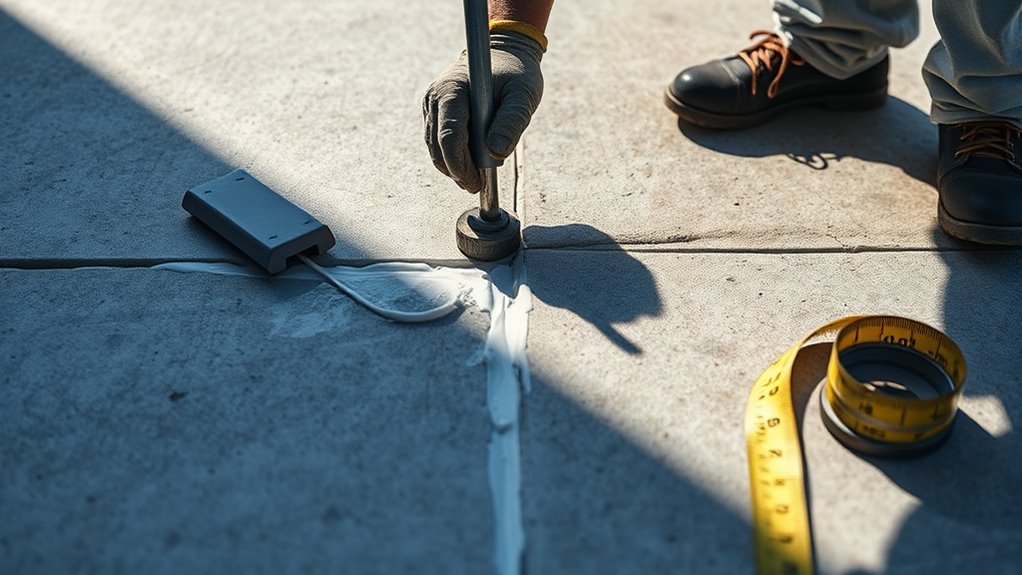
Proper installation of expansion joints guarantees they function effectively and maintain the integrity of your outdoor structure. Begin by preparing the surface, ensuring it’s clean, dry, and free of debris. Proper surface leveling is essential to prevent uneven stress on the joint, so use a level to achieve a smooth, even surface. Next, cut the joint opening to the recommended width and depth, following manufacturer guidelines. During installation, focus on proper joint sealing to prevent water infiltration and debris accumulation. Insert the joint filler or sealant, making sure it fits snugly and adheres well to the surrounding surfaces. Finally, check the joint for levelness and ensure the sealant is flush with the surface. Correct installation promotes durability and prevents future damage.
Safety Precautions When Working Outdoors With Construction Materials

Working outdoors with construction materials requires careful attention to safety to prevent accidents and injuries. Always wear personal protective gear, such as gloves, goggles, and sturdy boots, to shield yourself from hazards. Weather considerations are vital—plan your work around rain, wind, or extreme heat, as these conditions can compromise safety and material integrity. Stay alert for slippery surfaces or unstable ground, especially after rain or snow. Keep tools and materials organized to avoid trips or falls. Hydrate regularly and take breaks in shaded areas during hot days. Additionally, being aware of the Microsoft outage can help you plan for potential disruptions in communication or digital workflows. By following these safety precautions, you reduce risks and guarantee a safer working environment. Remember, prioritizing personal protective measures and weather awareness helps protect you and guarantees a smooth project.
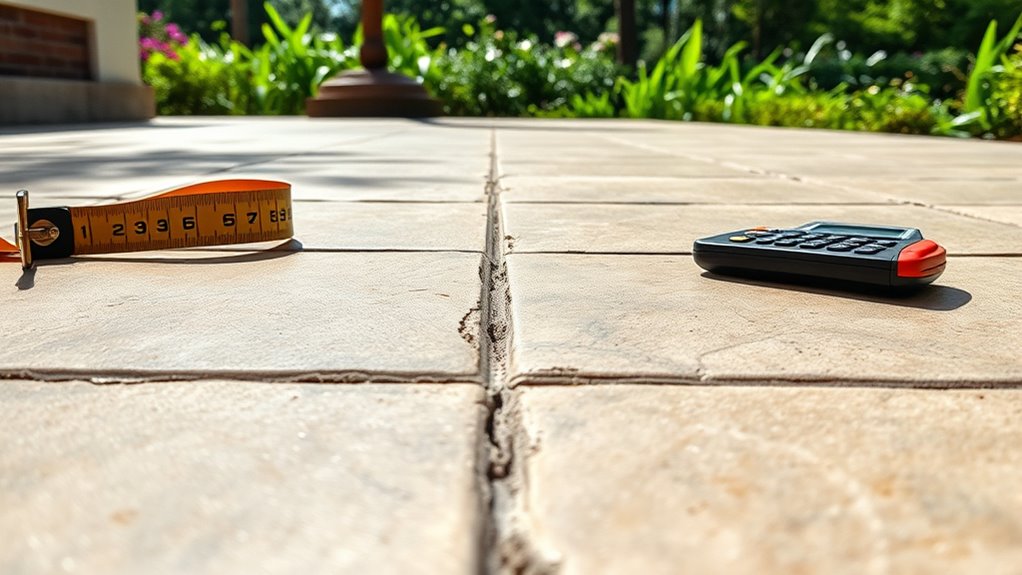
Tools and Materials for Accurate Calculations and Installations

Accurate calculations and precise installations rely heavily on the right tools and materials. You need a quality measuring tape and calculator to determine the correct grout or sealant quantities. For color matching, select grout and sealant that closely match your existing surface to guarantee a seamless look. Proper tools like a putty knife, caulking gun, and trowel help you apply materials smoothly and accurately. Sealant compatibility is essential; choose products formulated for outdoor use and compatible with your surface materials to prevent issues like cracking or peeling. Using the correct tools and materials ensures your joints are installed efficiently, look professional, and last longer. Always verify color matching and sealant compatibility before starting to avoid costly mistakes later. Additionally, understanding expansion joints helps prevent future damage caused by movement of outdoor surfaces.
Common Mistakes to Avoid During Grouting and Joint Installation
One common mistake is not properly preparing the surface before applying grout or installing joints, which can lead to poor adhesion. Filling joints too much or too little can cause damage or longevity issues. Staying aware of these pitfalls helps guarantee a durable and professional result. Additionally, using the correct surface preparation techniques ensures optimal adhesion and overall durability of the grout or joints.
Improper Surface Preparation
Proper surface preparation is essential for guaranteeing a durable and professional-looking grout or expansion joint installation. If you skip or rush this step, your work may suffer from poor adhesion and early failure. Start by thoroughly cleaning the surface to remove dirt, dust, grease, and other contamination. Contamination removal is vital because any debris or residual oils can prevent the grout or sealant from bonding properly. Use appropriate tools and cleaners suited for your surface material, ensuring it’s completely dry before applying grout or joint filler. Neglecting proper surface prep can lead to cracks, gaps, or joint failure over time. Take the time to prepare the surface meticulously, and you’ll guarantee a long-lasting, high-quality result that performs well outdoors. Additionally, vetted products designed for outdoor applications can enhance the longevity of your grout and joints.
Over or Under Filling
Over or under filling joints is a common mistake that can compromise the durability and appearance of your installation. When you overfill, excess grout can spill over the edges, making cleanup difficult and affecting the joint’s integrity. Under filling leaves gaps that weaken the structure and allow water infiltration. To avoid this, focus on proper mixing techniques to guarantee the grout has the right consistency—neither too dry nor too runny. Properly mixed grout will flow smoothly into joints and prevent air pockets, reducing the risk of grout drying unevenly. During application, fill joints completely, but don’t force grout in so tightly that it causes spillage or gaps. Correct filling ensures a strong, durable, and visually appealing finish.
Frequently Asked Questions
How Do Weather Conditions Affect Outdoor Grout and Joint Installation?
Weather conditions considerably impact outdoor grout and joint installation. Temperature fluctuations can cause the grout to expand or contract, risking cracks or gaps. Moisture influence, such as rain or high humidity, can weaken the grout before it cures properly, leading to compromised durability. You should plan installations during stable weather, avoid extreme temperatures, and protect the work from moisture to guarantee the grout sets correctly and lasts longer.
What Are the Environmental Impacts of Using Different Grout Types Outdoors?
Think of choosing grout like planting a garden—each type impacts the environment differently. Some grouts contain chemicals that can cause runoff, polluting nearby water sources, while others might disrupt local habitats during extraction or production. You need to weigh these effects carefully, opting for eco-friendly options whenever possible. Your choice can either protect or harm the environment, so select grout types that minimize chemical runoff and habitat disruption.
Can Expansion Joints Be Customized for Unique Outdoor Project Designs?
Yes, you can customize expansion joints for your unique outdoor project designs. With various customization options, you gain greater design flexibility, allowing you to match joints to specific aesthetic or functional needs. You can choose different materials, sizes, and placement patterns to seamlessly integrate them into your landscape or structure. This guarantees your project not only functions properly but also aligns perfectly with your creative vision, enhancing both durability and visual appeal.
How Often Should Outdoor Expansion Joints Be Inspected and Maintained?
You should inspect your outdoor expansion joints at least twice a year, ideally during spring and fall, to make certain they’re functioning properly. Follow a regular maintenance schedule that includes checking for cracks, debris buildup, and signs of wear. Promptly address any issues you find to prevent damage. Consistent inspection frequency and maintenance help extend the lifespan of your joints and keep your outdoor surfaces safe and durable.
Are There Eco-Friendly Alternatives to Traditional Outdoor Grout and Joints?
Yes, you can choose eco-friendly alternatives to traditional outdoor grout and joints. Recycled materials like crushed glass or rubber chips work well, reducing waste and environmental impact. Biodegradable options, such as plant-based sealants or natural clay-based products, are also available. These eco-friendly choices help you maintain outdoor spaces sustainably, minimize pollutants, and support environmental conservation, making your project both functional and eco-conscious.
Conclusion
By understanding grout and expansion joints, you guarantee durability and safety. By choosing the right materials, calculating accurately, and installing correctly, you protect your project and yourself. By following safety precautions, avoiding common mistakes, and using proper tools, you create a sturdy, long-lasting outdoor space. Remember, attention to detail, preparation, and care are your best tools. With these steps, you assure success, safety, and satisfaction in every outdoor project you undertake.