
To master advanced rain and drip edge planning, you’ll want to understand their purpose in protecting your home from water damage and how to choose the right materials, like aluminum or copper, that match your style and budget. Proper design principles, such as correct overhangs and placement, are essential for effective water flow. Ensuring secure installation and regular maintenance will keep your system durable. Explore further to discover detailed techniques and tips for peak performance.
Key Takeaways
- Understand the purpose, importance, and optimal specifications of rain and drip edges to prevent water damage and enhance home durability.
- Select suitable materials considering cost, aesthetics, corrosion resistance, and compatibility with roofing for long-term performance.
- Design effective water management systems by calculating proper overhangs, gutter slopes, and strategic placement of drip edges.
- Follow proper installation techniques, securing and sealing components correctly, and perform regular maintenance to ensure system longevity.
- Incorporate additional features like gutter guards, rain chains, and troubleshooting practices to optimize water flow and system efficiency.
Aluminum Door Rain Drip Guard,Drip Edge for Exterior Doors Window Top
Extra-wide Door Rain drip Guard: Unlike all other door rain drip guards, ours is designed with extra-wide and…
As an affiliate, we earn on qualifying purchases.
As an affiliate, we earn on qualifying purchases.
Understanding the Purpose of Rain and Drip Edges
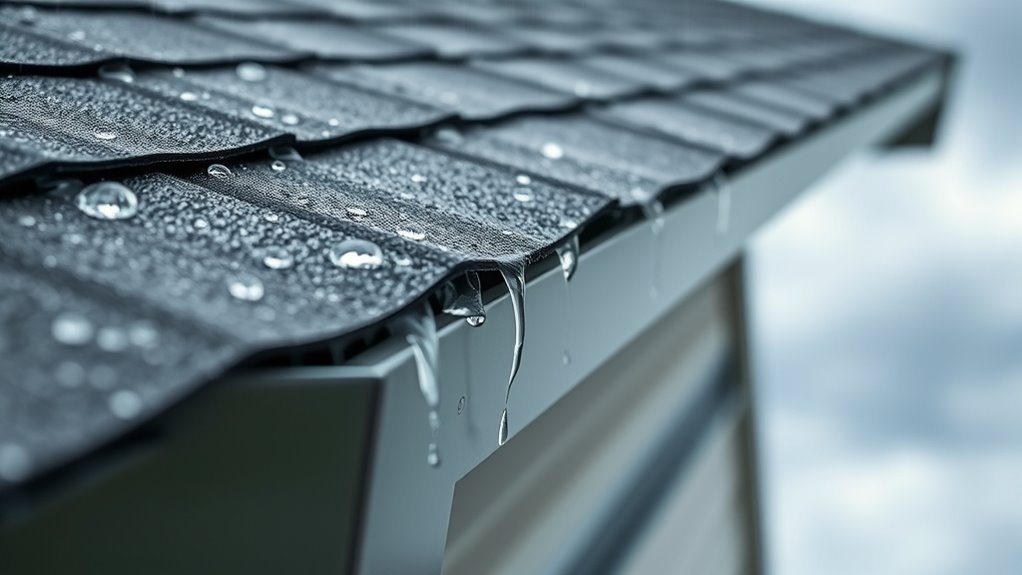
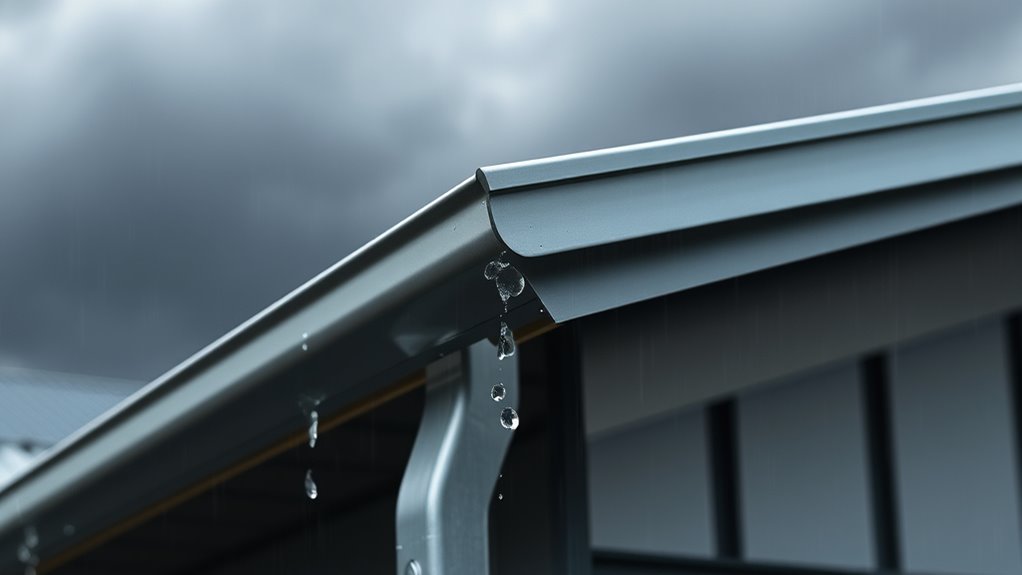
Rain and drip edges serve a crucial role in protecting your home from water damage. They help manage stormwater runoff by directing water away from your roof and walls, reducing the risk of water infiltration that can cause structural issues or mold growth. Without proper edges, rain can flow under roofing materials or seep into vulnerable areas, leading to costly repairs. Drip edges extend beyond the roofline, ensuring water drips clear from the fascia and siding. This controlled flow prevents water from pooling or splashing onto your home’s foundation, which can cause long-term damage. Properly installed rain and drip edges are essential for a durable, weather-resistant home. Additionally, understanding how proper installation contributes to the effectiveness of rain and drip edges can help prevent common issues like leaks and erosion.

Waterlock PRO Copper Gutter Guard Systems 5" Inch and 6" inch Adjustable Half Round Gutter Protection Under The Shingle Installation|Made in The USA | Manufacturer Art of Gutter (Copper – 25 Feet)
Engineered for compatibility with new gutters and asphalt shingle roofs less than 5 years old. Versatile design fits…
As an affiliate, we earn on qualifying purchases.
As an affiliate, we earn on qualifying purchases.
Selecting the Right Materials for Your System
Choosing the right materials for your rain and drip edge system depends on durability, compatibility, and your budget. You’ll also want to contemplate how the materials look to match your home’s design. Making informed choices ensures your system performs well and enhances your curb appeal. Incorporating high-quality materials can also reduce the need for frequent repairs and replacements, ultimately saving you money over time. Material selection is a critical step in creating a reliable and visually appealing drainage system.
Material Durability and Compatibility
Selecting the right materials for your rain and drip edge system is crucial to guarantee long-lasting performance. You need materials with a proven material lifespan that can withstand weathering over time, reducing the risk of premature failure. Compatibility concerns are equally important; ensure your drip edges and gutters work seamlessly with your roofing materials to prevent issues like corrosion or leaks. For example, metal components should be compatible with your roofing’s material type to avoid galvanic corrosion. Choosing durable, compatible materials helps maintain the system’s integrity and reduces maintenance costs. Always verify manufacturer recommendations to confirm that your selected materials will perform well together under your specific environmental conditions. Proper selection now saves you headaches and expenses down the line. Additionally, considering vetted products that are tested for durability can further enhance the longevity of your rain and drip edge system.
Cost and Budget Considerations
When evaluating materials for your rain and drip edge system, cost and budget play a significant role in decision-making. Conducting a thorough cost analysis helps you identify affordable options without sacrificing quality. Budget planning ensures you allocate funds effectively, balancing upfront costs with long-term durability. Keep in mind that cheaper materials might save money initially but could require frequent replacements. Here’s a quick comparison:
| Material Type | Cost Range | Durability |
|---|---|---|
| Aluminum | Moderate | High |
| Vinyl | Low | Moderate |
| Copper | High | Very High |
| Steel | Moderate | Good |
Prioritize materials that fit your budget while providing the best value for longevity and performance. Incorporating contrast ratio considerations into your material choice can also impact the overall effectiveness and appearance of your system.
Aesthetic and Design Options
Are you looking to enhance your home’s overall appearance while ensuring your rain and drip edge system complements your design? The right materials offer a variety of aesthetic options, including ornamental designs that add unique character. You can choose from sleek, modern finishes or more decorative styles to match your home’s architecture. Color options also play a significant role, allowing you to select hues that blend seamlessly with your exterior or make a bold statement. Consider materials like aluminum, copper, or painted steel, each providing different visual effects and durability. By carefully selecting ornamental designs and color options, you can create a cohesive look that elevates your home’s curb appeal while protecting it from water damage. Incorporating vintage decor elements can further enhance the overall aesthetic, adding rustic charm to your exterior design.

MorningRo 25pcs Aluminum Gutter Wedges for 5-inch K-Style Gutters, Levels Rain Gutters on Angled Fascia for Proper Installation and Drainage for Roof Pitch (6/12 Through 10/12 Slope,White)
Gutter Wedge: each package includes a set of 25 aluminum gutter wedges; Works for 6/12 through 10/12 slope…
As an affiliate, we earn on qualifying purchases.
As an affiliate, we earn on qualifying purchases.
Key Design Principles for Effective Water Management
To manage water effectively, you need to pay attention to gutter slope and drip placement. Proper slope guarantees water flows smoothly toward the downspouts, preventing pooling or overflow. Strategic drip placement directs water away from your home’s foundation, reducing potential damage.
Proper Gutter Slope
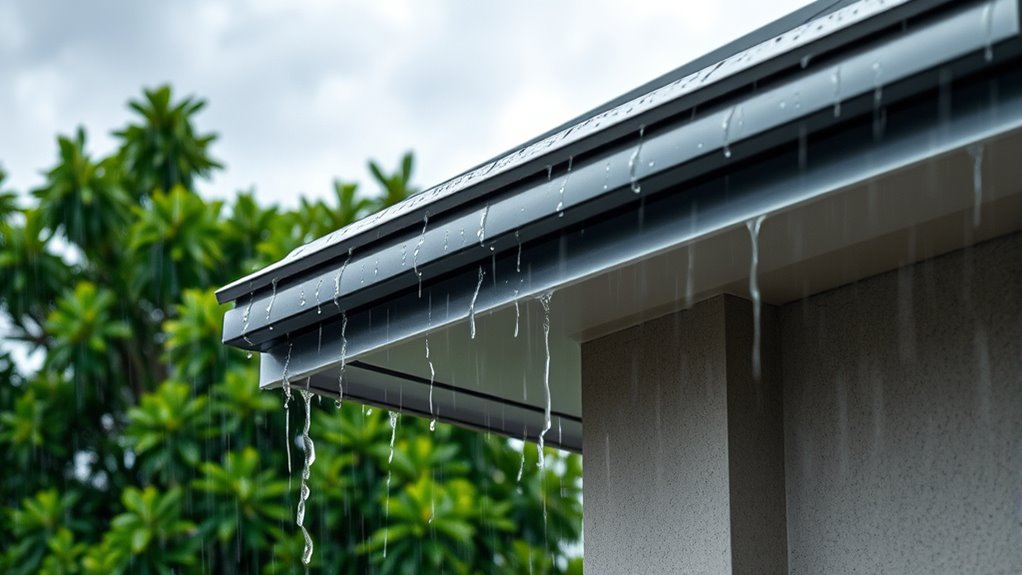
Proper gutter slope is essential for effective water management because it guarantees rainwater flows smoothly toward the downspouts without pooling or overflowing. To achieve this, you need to set the gutter slope correctly—usually about 1/4 inch for every 10 feet of gutter. This slight incline directs water runoff efficiently, preventing stagnation and potential damage. If the slope is too flat, water will slow down or back up, risking overflow during heavy rain. Conversely, an excessively steep slope can cause water to rush too quickly, leading to splash and erosion. Regularly check the gutter slope during installation and after adjustments, ensuring it remains consistent. Proper slope guarantees your gutter system functions effectively, safeguarding your home from water damage. Additionally, understanding architectural significance of historic farmhouses can help preserve their structural integrity and charm over time.
Strategic Drip Placement
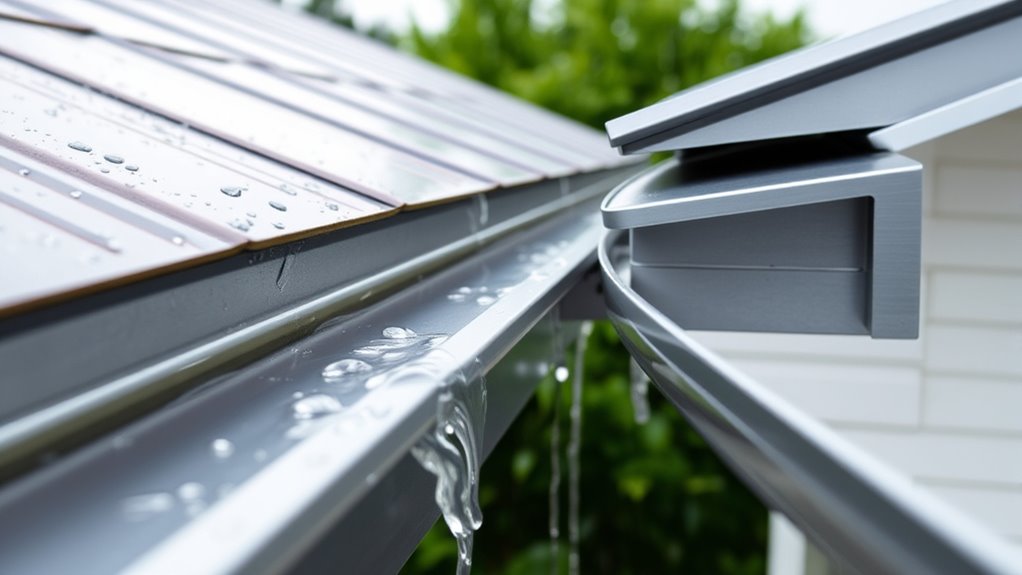
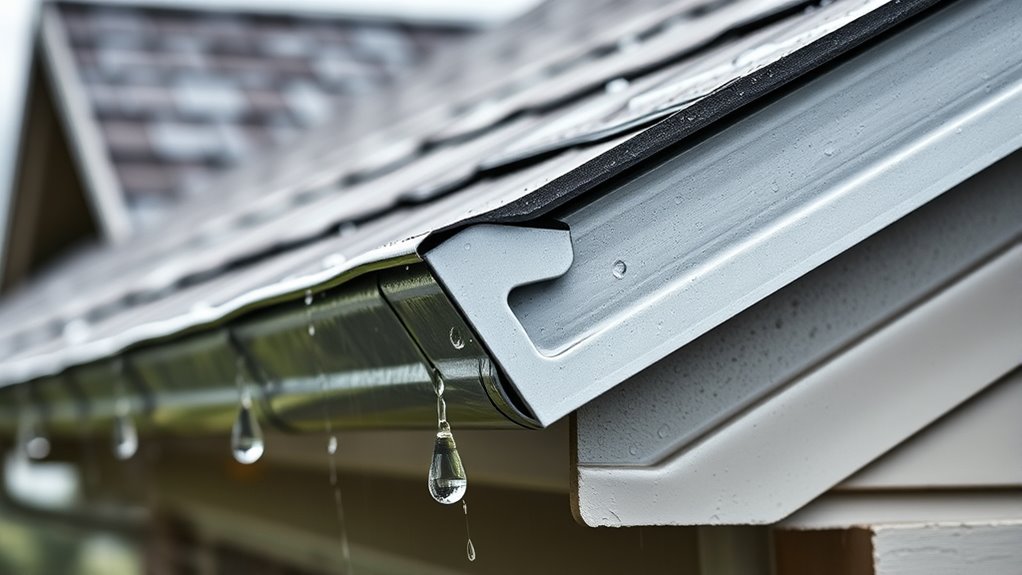
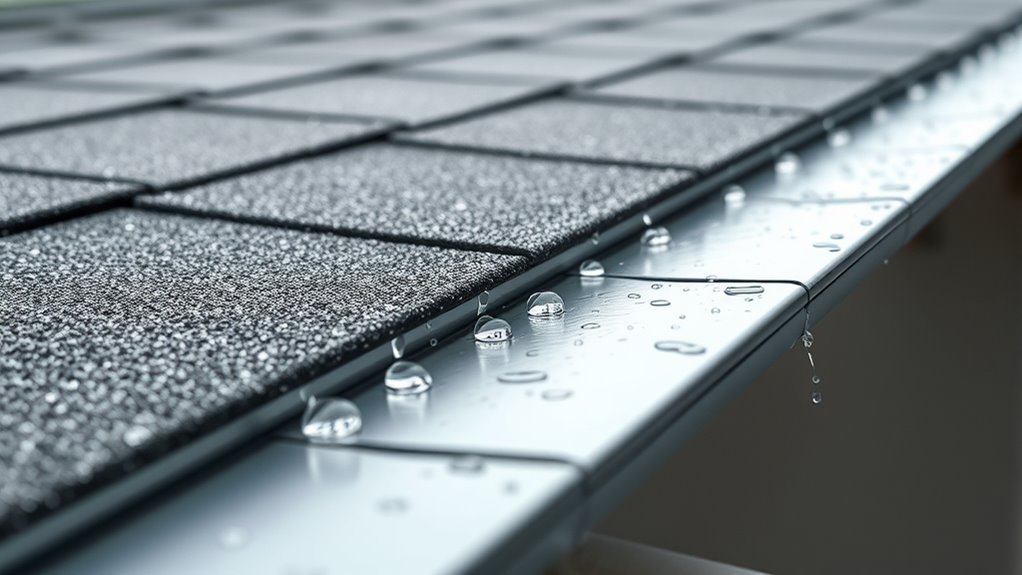
Where should you place drip edges to maximize their effectiveness? You want to position drip edges where water flow is most concentrated, typically just beyond the roofline over the eaves. Proper drip placement ensures that water is directed away from the fascia and siding, reducing potential damage. Place the drip edge so it extends slightly over the roof edge, guiding water away from the structure. Avoid gaps or misaligned placement, as these can cause water to seep behind the gutter or into the roofline. Effective drip placement creates a seamless barrier that manages water flow, preventing leaks and erosion. By strategically positioning drip edges, you optimize water management, protecting your home while extending the lifespan of your roofing and exterior surfaces.

Compatible for use with Kit, Drip Edge Left 156008 KolCoh43992
Manufactured using high-quality materials to provide exceptional durability and longevity.
As an affiliate, we earn on qualifying purchases.
As an affiliate, we earn on qualifying purchases.
Calculating Proper Overhangs and Placement
Determining the right overhang length and placement is essential for effective rain management and drip edge performance. Proper overhang measurements guarantee water is directed away from your home, preventing damage. Use placement strategies like extending the overhang enough to cover the siding and foundation but not so much that it causes unnecessary weight or wind issues. Consider your roof style, climate, and material when calculating these measurements. Proper space utilization and planning also ensure your overhangs contribute to a well-organized and functional exterior. Here’s a quick guide:
| Overhang Size | Placement Strategy | Emotional Impact |
|---|---|---|
| 6 inches | Protects siding | Confidence in durability |
| 12 inches | Shields windows | Peace of mind |
| 18 inches | Prevents water runoff | Security for your home |
| 24 inches | Extra coverage | Pride in craftsmanship |
| 30 inches | Max protection | Ultimate peace of mind |
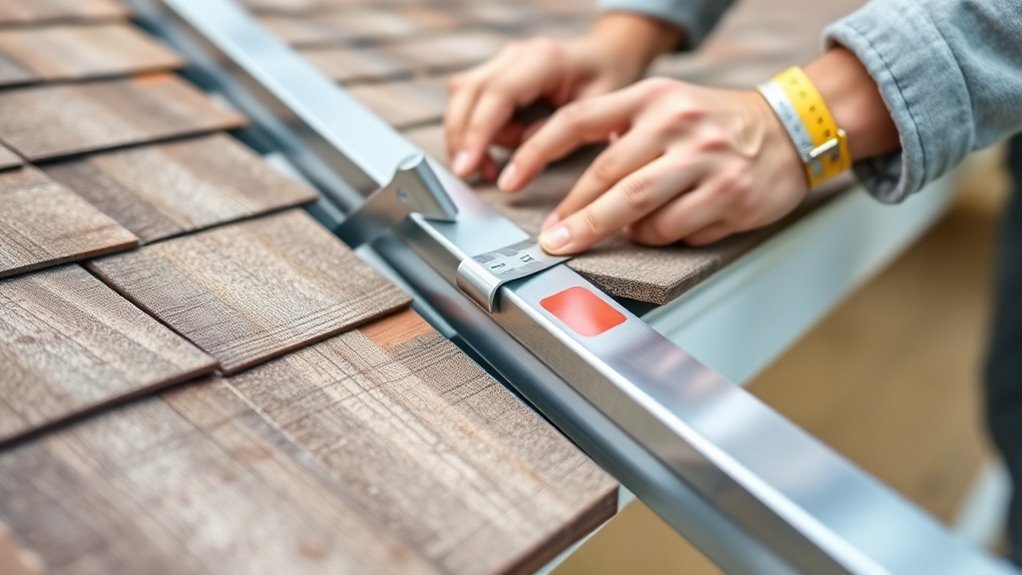
Installing Drip Edges: Step-by-Step Guidance
When installing drip edges, it’s crucial to focus on proper placement techniques to guarantee effective water runoff. You’ll need to secure the edges firmly and seal all seams to prevent leaks. Following these steps carefully helps protect your roof and improve drainage efficiency. Incorporating wall organization systems can also enhance the aesthetic appeal and functionality of your home exterior by keeping gutters and roof edges clear of debris.
Proper Placement Techniques
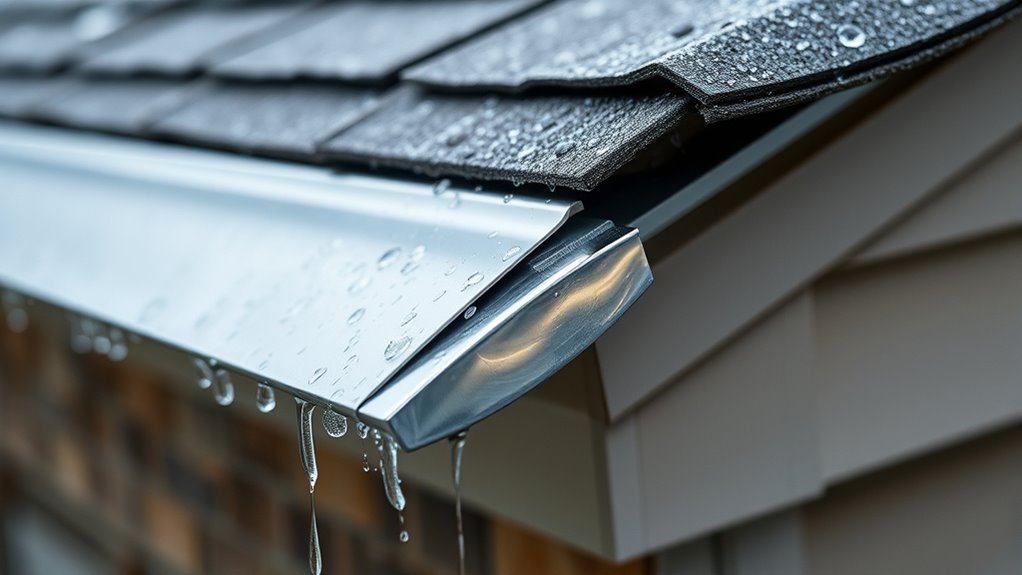
To guarantee your drip edge functions effectively, proper placement is essential. Begin by ensuring gutter alignment is correct so water flows smoothly into your gutters, preventing overflow. When installing the drip edge, position it so it extends slightly over the fascia, directing water away from the roof and into the gutter system. Pay close attention to downspout placement; the drip edge should guide water toward the downspouts without causing leaks or pooling. Make sure the drip edge sits flush along the roof edge and is secured firmly to prevent shifting. Proper positioning stops water from seeping behind the gutters and protects your roof’s edge. Accurate placement not only improves drainage but also extends the lifespan of your roofing components.
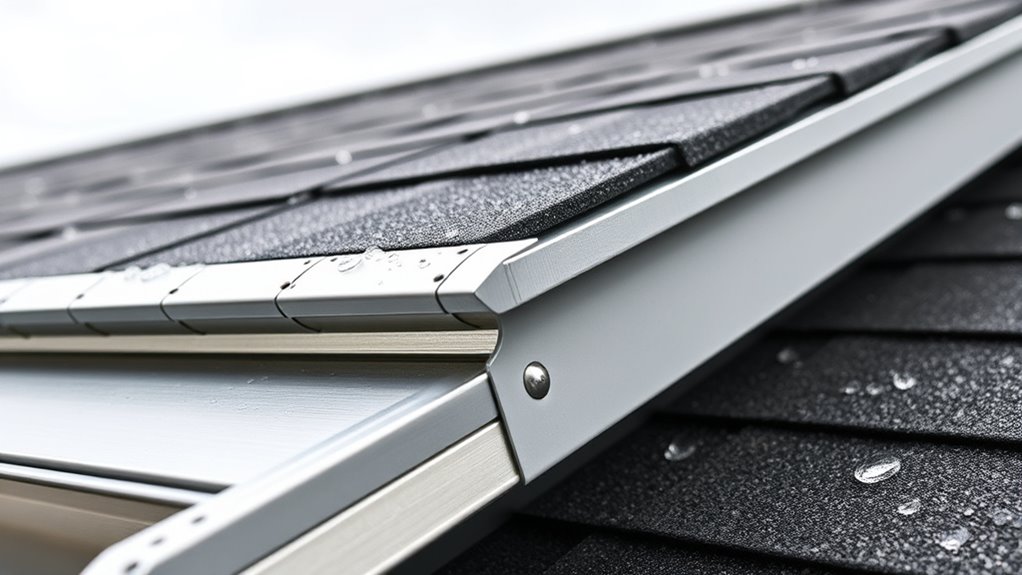
Securing and Sealing
Securing and sealing your drip edge properly is essential to guarantee it stays in place and prevents leaks. A well-installed drip edge directs stormwater runoff into your gutters, reducing water damage. To ensure proper sealing:
- Use nails or screws every 12-16 inches along the edge, securing it firmly to the roof’s fascia.
- Apply a high-quality, weatherproof sealant under the drip edge to prevent water infiltration.
- Overlap sections by at least 2 inches to maintain continuous gutter protection.
- Check that the drip edge extends slightly beyond the fascia to direct water away from your home’s foundation.
- Ensuring your roof’s security measures are adequate can further protect against water intrusion and damage.
This careful securing process minimizes leaks, enhances gutter protection, and effectively channels stormwater runoff, keeping your home safe and dry.
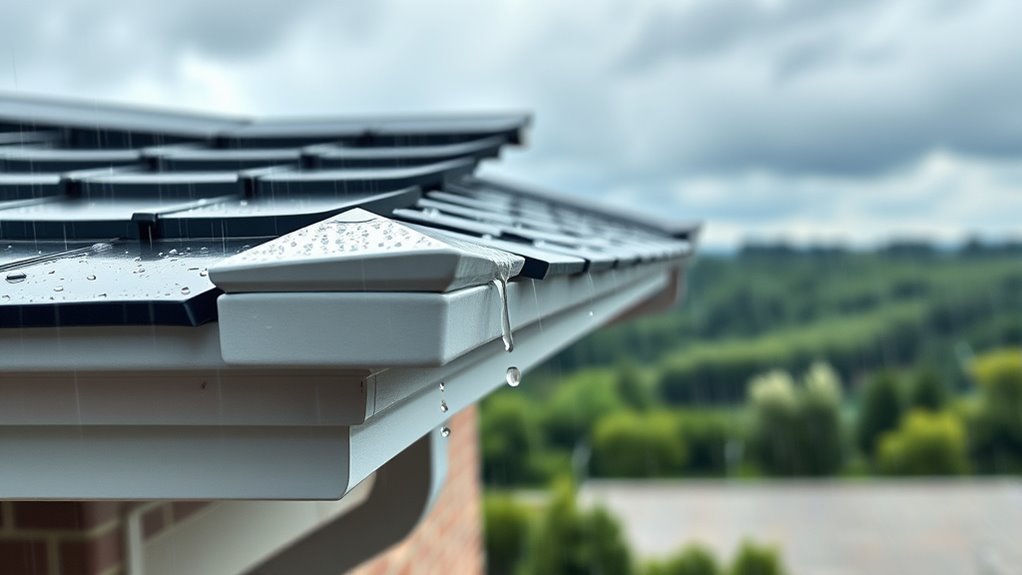
Integrating Rain Diverters and Gutters
Integrating rain diverters with gutters is essential for directing water efficiently away from your roof and foundation. You should install gutter guards to prevent debris buildup, guaranteeing water flows freely into the gutters. Properly positioned rain diverters can channel water away from vulnerable areas, reducing erosion and leaks. When planning your system, consider how roof flashing works with rain diverters to create a seamless barrier that directs water downward and outward. Gutter guards also protect your gutters from clogging, minimizing maintenance and reducing overflow risks. By combining these elements thoughtfully, you guarantee your drainage system functions ideally, protecting your home’s structure while maintaining a clean and efficient setup. Proper integration is key to long-lasting, effective rainwater management. Additionally, understanding the influence of AI on data analysis can help optimize your system’s design by predicting future water flow patterns and potential clogging points.
Common Mistakes to Avoid During Installation
Even with careful planning, many installation mistakes can compromise your rain and drip edge system. These errors can hinder rainwater harvesting and make gutter cleaning more difficult. To avoid issues, watch out for:
- Incorrect slope: Ensure gutters are angled properly to allow water flow and prevent pooling.
- Poor placement: Install rainwater harvesting components where they can capture maximum runoff without obstruction.
- Inadequate sealing: Seal joints tightly to prevent leaks that can damage your roof or cause mold.
- Overlooking maintenance: Avoid neglecting gutter cleaning, which can clog systems and reduce efficiency. Regular cleaning maintains proper flow and protects your investment. By avoiding these mistakes, you’ll optimize your system’s performance and longevity.
Maintenance Tips to Ensure Longevity

Regular maintenance is key to ensuring your rain and drip edge system lasts for years. Start by inspecting your gutters regularly and performing gutter cleaning to prevent debris buildup that can cause water overflow and damage. Keep an eye out for bird deterrents, as birds often nest in gutters or under drip edges, leading to blockages and potential damage. Installing bird deterrents can help keep unwanted visitors away and maintain proper water flow. Additionally, check for rust, corrosion, or loose components, and make repairs promptly. Maintaining clear gutters and preventing bird nesting reduces the risk of water damage and extends the lifespan of your system. Consistent upkeep ensures your rain and drip edge work efficiently, protecting your home long-term.
Enhancing Your Roof’s Water Defense With Additional Features
To boost your roof’s water defense, consider adding extra features that work in tandem with your existing gutter system. These enhancements can improve efficiency and protect your home from water damage.
- Install rainwater harvesting systems to collect runoff for reuse, reducing waste and easing drainage pressure.
- Add gutter guards to minimize debris buildup, making gutter cleaning easier and less frequent.
- Incorporate splash blocks or downspout extensions to direct water further away from your foundation.
- Consider installing rain chains to guide water visually and reduce splashing, especially in high-traffic areas.
These features complement your gutters, improve water management, and help maintain a clean, functional system. Properly integrated, they ensure your roof provides lasting protection.
Troubleshooting and Adjusting Your Rain Management System
When your rain management system isn’t functioning properly, quick troubleshooting can prevent water damage and extend the life of your roof. Start by inspecting your gutters for debris or blockages, which can hinder water flow. Regular gutter cleaning guarantees rainwater flows freely, reducing overflow and potential damage. If water pools near your foundation, check for misaligned or sagging gutters and adjust them accordingly. For rainwater harvesting systems, ensure all components are properly connected and free of leaks. Test your system during rain to observe any issues, like overflowing or spilling. Making these adjustments promptly helps maintain your system’s efficiency, protecting your home. Remember, consistent gutter cleaning and monitoring are key to effective rainwater management and avoiding costly repairs down the line.
Frequently Asked Questions
How Do Climate Variations Affect Rain and Drip Edge Choices?
Climate variations greatly influence your rain and drip edge choices by affecting water runoff patterns and the demands placed on your roofing system. In different climate zones, you need to select materials that handle heavy rainfall or snow melt efficiently. For example, in wetter zones, a robust drip edge helps direct water away from your foundation, preventing damage. Tailoring your choices to these climate factors ensures better protection and longevity for your home.
Can DIY Installation Match Professional Standards for Effectiveness?
DIY installation can match professional standards for effectiveness if you carefully follow instructions and prioritize material durability. Your success depends on using high-quality materials designed for your climate, ensuring proper placement, and taking your time to get it right. While it’s possible to achieve good results, don’t underestimate the importance of experience and attention to detail to guarantee your rain and drip edge system works effectively and lasts long-term.
Are There Eco-Friendly or Sustainable Material Options Available?
Yes, eco-friendly and sustainable materials are available for rain and drip edge projects. You can select recyclable materials like aluminum or copper, which can be reused or recycled after their lifespan. Biodegradable options, such as certain types of treated wood or plant-based composites, are also available. These choices help reduce environmental impact, making your installation both effective and environmentally conscious. Always verify product certifications to guarantee sustainability claims are valid.
How Often Should Rain and Drip Edges Be Inspected or Replaced?
You should inspect your rain and drip edges at least once a year, preferably in the fall or spring. Regular inspection frequency helps you catch rust, corrosion, or damage early. Typically, replacement timeline varies, but most edges last about 15-20 years with proper maintenance. If you notice peeling paint, warping, or leaks, it’s time to replace them promptly to protect your home’s foundation and prevent water damage.
What Impact Do Roof Pitch and Shape Have on System Design?
Think of your roof as a river’s path—its slope and contour guide the flow of water, shaping your system’s design. A steeper roof pitch directs runoff quickly, requiring robust drip edges, while a gentle slope needs careful planning to prevent leaks. The roof’s shape influences how rainwater channels, dictating the placement and style of rain and drip edges to guarantee efficient drainage and protection.
Conclusion
By mastering rain and drip edge planning, you’re better equipped to protect your home from water damage. For example, imagine noticing minor leaks after a heavy storm—properly installed drip edges could have diverted that water before it caused harm. Regular maintenance and thoughtful design guarantee your system works efficiently for years. Keep learning and adjusting your setup as needed, so your roof remains a strong, reliable barrier against the elements.