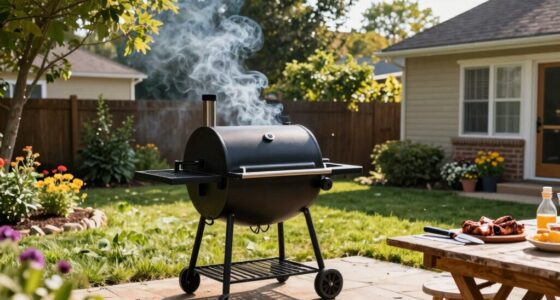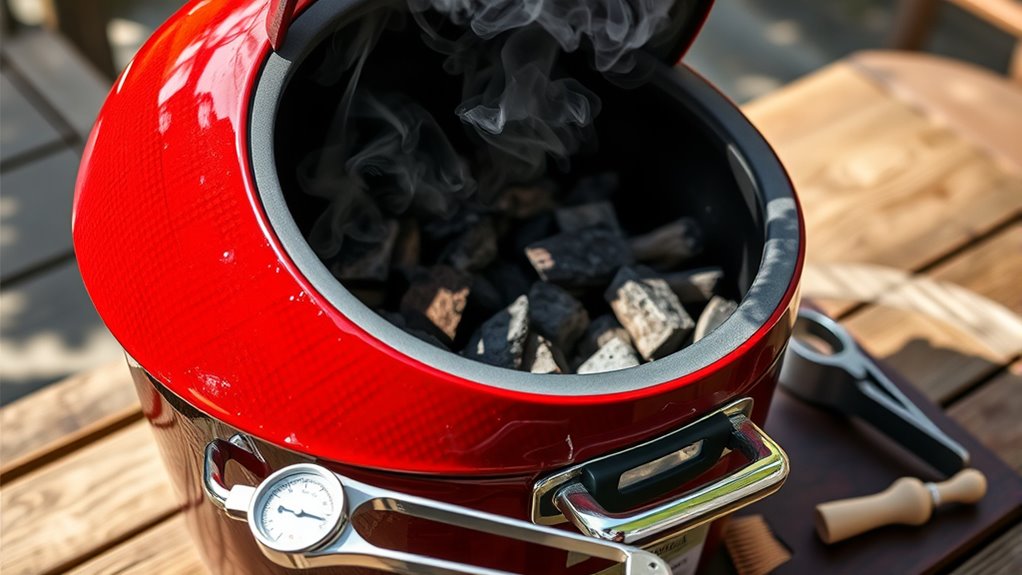
To set up your kamado grill, choose lump charcoal for hotter, cleaner burns or briquettes for longer cooks, without overpacking the firebox. Light the fire with vents wide open, then gradually close them to control temperature. Use the vents at the bottom and top to fine-tune airflow, maintaining the desired heat—whether for grilling, smoking, or searing. If you keep experimenting with these adjustments, you’ll master perfect results every time.
Key Takeaways
- Fill the firebox with lump charcoal for high heat or briquettes for longer cooks, avoiding overpacking for proper airflow.
- Open the bottom air intake and top exhaust vent fully to start the fire, then gradually adjust for desired temperature.
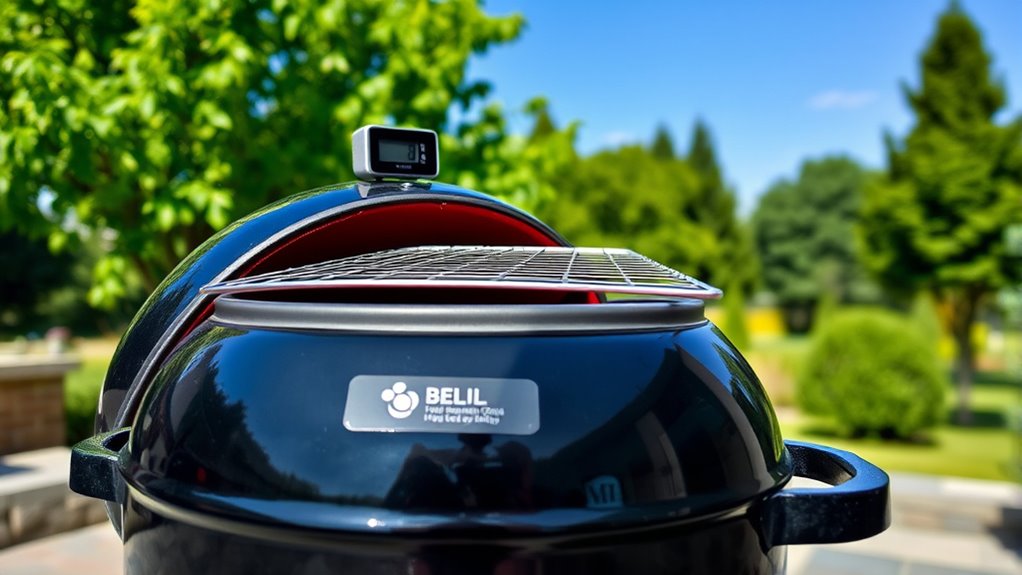
- Use built-in or external digital thermometers to monitor and fine-tune the grill’s temperature via vent adjustments.
- Maintain consistent heat by managing airflow, checking for airflow blockages, and adding charcoal as needed during cooking.
- Practice adjusting vents and monitoring temperature to master your Kamado grill for various cooking styles like smoking or searing.
Setting up a Kamado grill might seem intimidating at first, but with the right steps, you’ll be ready to start grilling in no time. The first thing to understand is that Kamado grills are versatile in terms of fuel options, giving you flexibility depending on your preferences. Typically, lump charcoal is the go-to fuel because it burns hotter and cleaner, providing excellent flavor and consistent heat. However, you can also use briquettes if you prefer, especially for longer cooks or when you need more predictable burning times. Once you’ve chosen your fuel, you’ll want to fill the firebox with your selected charcoal, making sure not to overpack it. Leaving some space allows for better airflow, which is essential for efficient combustion. Kia Tuning can sometimes be incorporated into grilling setups to enhance performance, but for your Kamado, focus on proper fuel and airflow management.
Mastering fuel choices and airflow ensures perfect grilling on your Kamado.
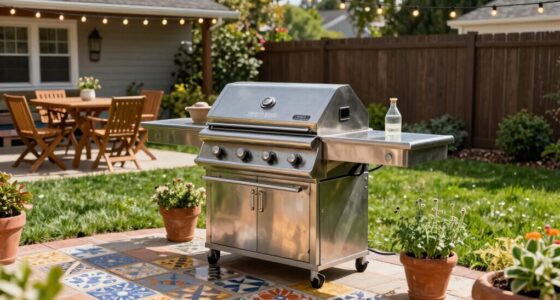
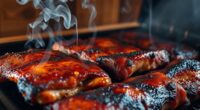
Temperature control is the cornerstone of successful grilling on a Kamado. Unlike traditional grills, Kamados excel at maintaining steady, precise heat, but you need to understand how to manage that heat effectively. To do this, you’ll adjust the air intake vents—usually located at the bottom of the grill—and the exhaust vent at the top. Opening these vents increases airflow, raising the temperature, while closing them reduces airflow and lowers the heat. When starting your fire, open both vents wide to get a quick ignition, then gradually adjust them to reach your target temperature. A good rule of thumb is to keep the vents partially open once the charcoal is lit, which helps maintain a consistent temperature.
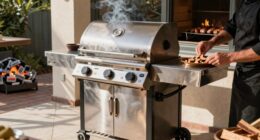
Monitoring your grill’s temperature is essential, and investing in a good thermometer is worthwhile. Many Kamado grills come with built-in thermometers, but an external digital thermometer can give you more accurate readings. Once your fire is established and your vents are adjusted, you can fine-tune the heat by making small adjustments to the vents. For low-and-slow cooking, aim for a temperature around 225-250°F, while higher temperatures, around 500°F, are perfect for searing steaks. Remember, patience is key, and small adjustments go a long way. If you notice the temperature dropping or rising unexpectedly, check for airflow blockages or excess ash buildup that might restrict airflow.
Getting comfortable with fuel options and mastering temperature control takes practice, but it’s worth the effort. With time, you’ll learn how your specific Kamado model responds to adjustments, allowing you to cook everything from tender smoked briskets to perfectly grilled vegetables. Keep an eye on your thermometer, adjust the vents carefully, and choose your fuel wisely, and you’ll be well on your way to grilling success.
Top picks for "kamado grill"
Open Amazon search results for this keyword.
As an affiliate, we earn on qualifying purchases.
Frequently Asked Questions
How Do I Properly Clean and Maintain My Kamado Grill?
To keep your kamado grill in top shape, regularly perform grill cleaning after each use. Remove ash and ash buildup by carefully scooping it out once the grill cools. Clean the cooking grates with a brush to prevent residue buildup, and wipe down the exterior with a damp cloth. Proper maintenance guarantees even heat distribution and extends the life of your grill, making every cookout a success.
What Types of Charcoal Are Best for Kamado Grilling?
For kamado grilling, you want the best fuels, so choose high-quality charcoal types like lump charcoal or natural briquettes. Lump charcoal burns hotter and produces less ash, making it ideal for precision cooking. Natural briquettes offer consistent heat and are easier to manage. Avoid quick-light or cheap charcoals, as they can affect flavor and temperature control. Using the right charcoal types guarantees ideal performance and delicious results on your grill.
Can I Use a Kamado Grill for Smoking and Baking?
Absolutely, you can use your Kamado grill for smoking and baking, showcasing its versatility. Simply adjust the temperature controls and airflow to suit your needs. For smoking, set it to a low, steady temperature and add wood chips for flavor. For baking, increase the heat and use indirect heat for bread, pizza, or even desserts. Your Kamado’s flexibility makes it perfect for a variety of cooking styles.
How Do I Control Temperature Precisely on a Kamado?
Tune your temp with thoughtful airflow management, taming your Kamado’s temperature precisely. You control temperature by adjusting the vents—opening the top and bottom vents to increase heat or closing them to cool down. Keep a close eye on your thermometer, and make small, steady adjustments to maintain your desired temperature. Consistent airflow control is key to perfecting your cooking, whether you’re smoking, baking, or grilling.
What Accessories Are Recommended for Improving Kamado Grilling?
To improve your kamado grilling, consider adding a grill thermometer for precise temperature monitoring and side shelves for extra prep space. A good thermometer helps you maintain consistent heat, while side shelves make it easier to organize tools and ingredients. You might also explore heat-resistant gloves, a ash tool, and a cast-iron grate for better cooking control and convenience, elevating your grilling experience markedly.
Conclusion
Now that you’ve mastered your kamado grill, it’s like holding a key to endless culinary adventures. Each fire you ignite is a heartbeat, fueling your passion for perfect grilled flavors. As you nurture the coals and tend the flame, you’re shaping more than meals—you’re crafting memories, forging a bond with tradition and innovation. Let your grill be the compass guiding your culinary journey, where every smoky note echoes your growing mastery.