
To troubleshoot your oven’s preheat timing, start by ensuring it’s properly plugged in and that the door seals are intact. Use an oven thermometer to verify it reaches the target temperature, and check for damaged heating elements or faulty sensors. Allow extra preheat time if needed, and consider calibrating the temperature sensor regularly. Address mechanical issues promptly. If these steps sound helpful, you’ll uncover more tips to optimize your oven’s performance.
Key Takeaways
- Ensure proper oven insulation and intact door seals to promote efficient preheating.
- Use an oven thermometer to verify actual temperature matches set preheat targets.
- Check and calibrate temperature sensors regularly for accurate preheat timing.
- Inspect heating elements, door seals, and wiring for damage or wear to prevent delays.
- Minimize door openings during preheat to maintain consistent oven temperature and optimize timing.

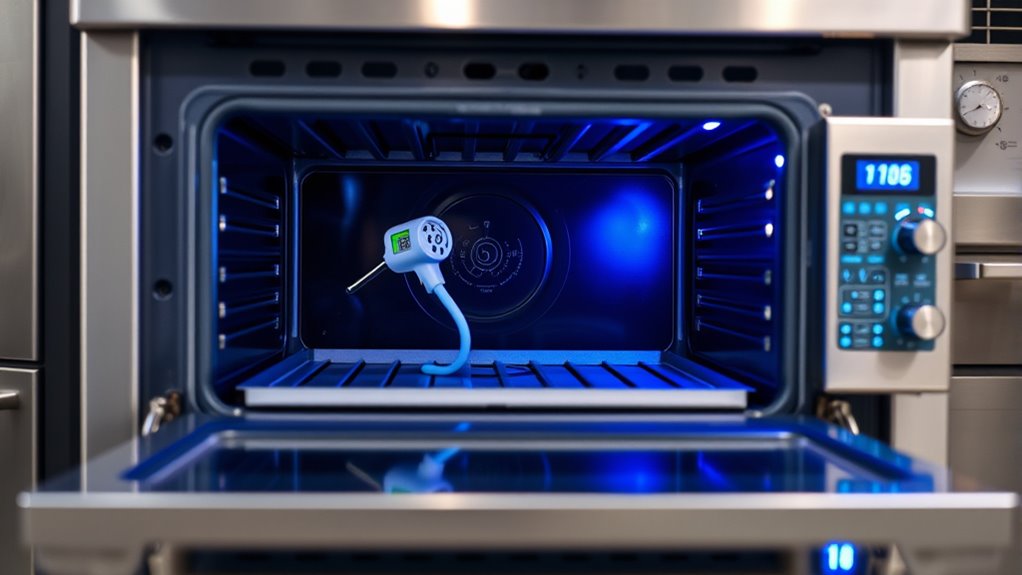
AcuRite 00620A2 Stainless Steel Oven Thermometer (150°F to 600°F)
Oven and grill safe for leave-in use while cooking
As an affiliate, we earn on qualifying purchases.
As an affiliate, we earn on qualifying purchases.
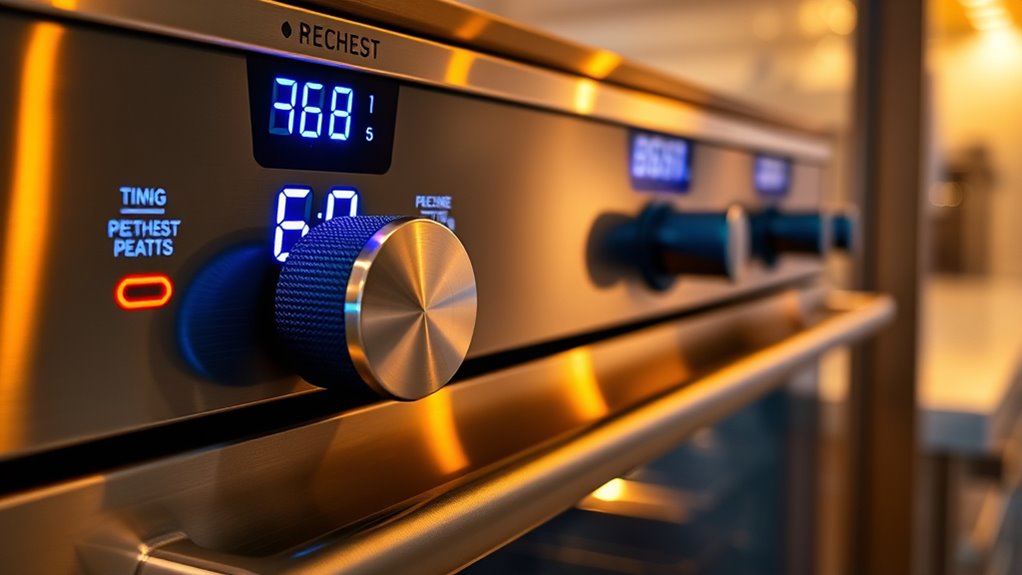
Understanding Your Oven’s Preheat Function
Understanding your oven’s preheat function is essential for achieving the best cooking results. Proper preheating guarantees even heat distribution, which depends on factors like oven insulation and door seals. Good insulation keeps heat inside, reducing preheat time and maintaining consistent temperatures. If your oven insulation is damaged or worn, it can cause uneven heating, making preheating less effective. Similarly, door seals must be intact and tight; if they’re loose or cracked, heat escapes, and your oven may struggle to reach the desired temperature quickly. Knowing how these components work helps you troubleshoot preheating issues and optimize your cooking process. When you understand your oven’s preheat function, you can better manage timing, avoid under- or over-heating, and ensure your recipes turn out just right. Additionally, sound vibrations from heat-related components can influence oven performance and efficiency.
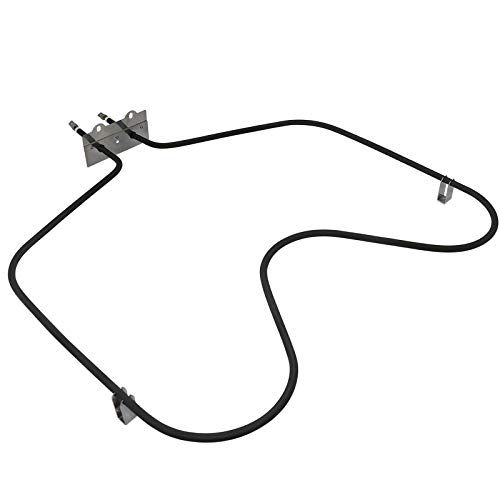
【UPGRADED】WP308180 W10308477 Oven Bake Element Replacement for Whirlpool Oven Heating Element WP308180 by Beaquicy – Suitable for Kenmore,Whirlpool ovens RF366PXXN2,FEP310EN0,RF365PXYN0,RF327PXVW,etc.
✔✔【𝘽𝘼𝙆𝙀 𝙀𝙇𝙀𝙈𝙀𝙉𝙏 𝙒𝙃𝙄𝙍𝙇𝙋𝙊𝙊𝙇 𝙊𝙑𝙀𝙉】308180 WP308180 oven bake element is at the bottom of the oven and supplies the…
As an affiliate, we earn on qualifying purchases.
As an affiliate, we earn on qualifying purchases.
Signs That Indicate Your Oven Isn’t Reaching the Proper Temperature
If your dishes turn out uneven or burn quickly, your oven might not be reaching the right temperature. Unusual noises, like banging or buzzing, can also signal a problem. Recognizing these signs helps you determine when your oven needs attention. Additionally, using an oven thermometer can help verify accurate temperature readings for troubleshooting.
Inconsistent Cooking Results
When your oven isn’t reaching the proper temperature, you may notice your baked goods are unevenly cooked or don’t turn out as expected. This can be a sign that your oven isn’t maintaining consistent heat, affecting your baking techniques. You might see some parts overdone while others remain undercooked. Check your oven accessories, like racks and thermometer placement, to make certain they aren’t interfering with heat circulation. Using an oven thermometer can help verify if your oven reaches the set temperature. If results remain inconsistent despite proper preheating, the oven’s heating element or thermostat could be faulty. Addressing these issues promptly ensures your oven heats evenly, leading to more reliable baking outcomes and better control over your cooking results. Additionally, ensuring your oven is properly calibrated can prevent heat pump failures and maintain consistent temperatures during use.
Unusual Oven Noises
Unusual noises coming from your oven can be a clear sign that it isn’t reaching or maintaining the proper temperature. If you hear banging, rattling, or squealing, it might indicate a problem with the heating element. A failing or warped heating element can cause the oven noise, as it struggles to heat evenly or properly. When the heating element isn’t working correctly, the oven may struggle to reach your desired temperature, leading to inconsistent cooking results. You might also notice a buzzing sound when the oven is on, which could suggest electrical issues or a loose component. Addressing these noises early can prevent more significant problems and ensure your oven heats reliably, saving you time and energy during your cooking and baking. Additionally, these signs can sometimes be linked to virtual affairs, which can cause emotional distress or trust issues if related to household conflicts or stressors impacting appliance maintenance.

WB4K1 Cosamatcozon Upgraded Oven Door Gasket Seal (Approximate Length is 84.45") – Compatible with Some GE, Hotpoint and Kenmore Ranges or Ovens
Parts Number: Cosamatcozon Upgraded Oven Door Gasket Seal, Part# WB4K1. Compatible Brands are GE, Hotpoint,RCA and Kenmore.
As an affiliate, we earn on qualifying purchases.
As an affiliate, we earn on qualifying purchases.
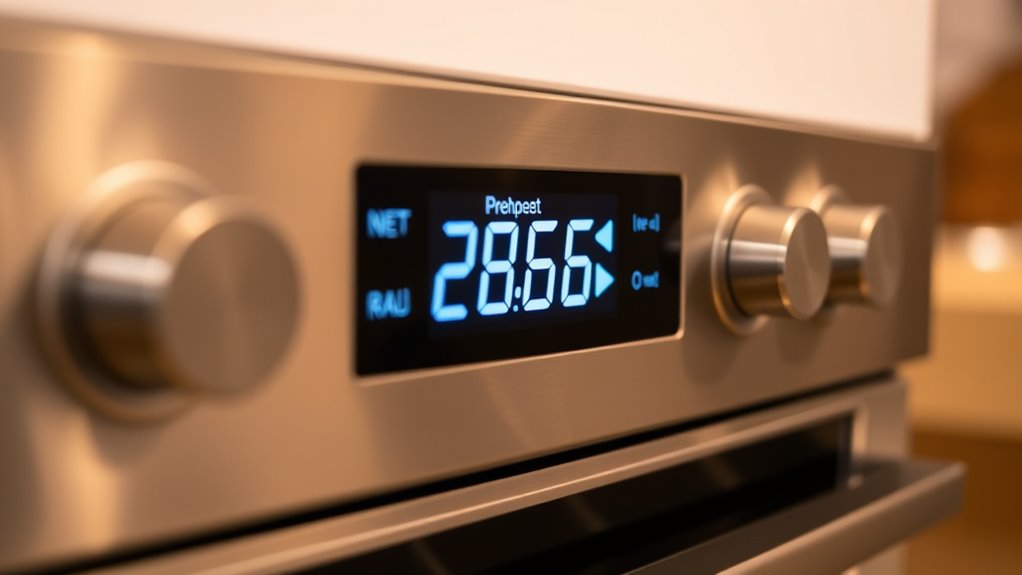
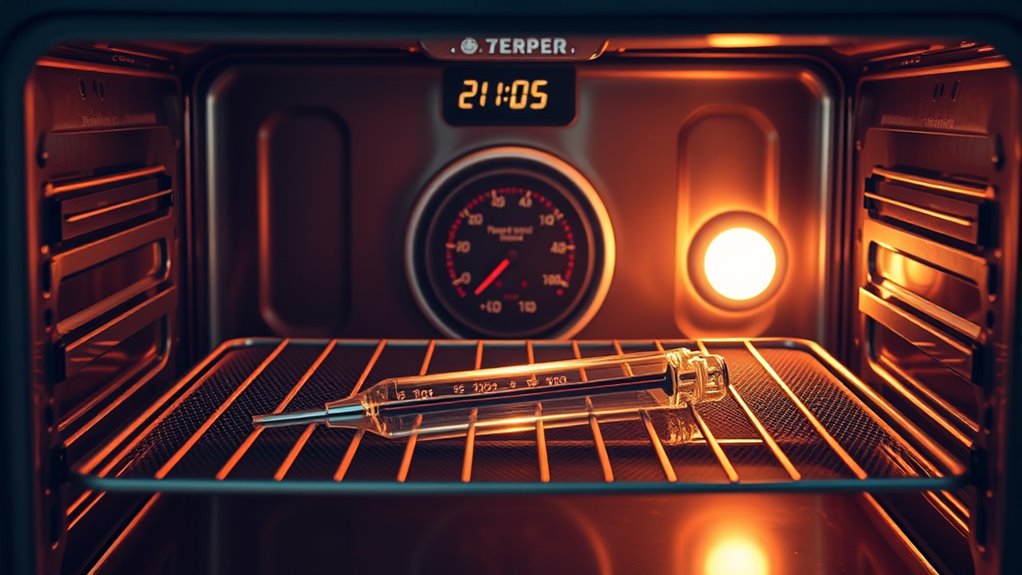
How to Test Your Oven’s Temperature Accuracy
To guarantee your oven heats accurately, start by calibrating it with an oven thermometer. Then, compare the thermometer readings to your oven’s set temperatures to spot discrepancies. This process helps you adjust or identify issues to keep your oven performing reliably. Regular maintenance and proper calibration can also extend the lifespan of your appliance lifestyle habits.
Calibrate With an Oven Thermometer
Using an oven thermometer is the most accurate way to determine if your oven’s temperature matches what’s set on the dial. Place the thermometer in the center of the oven, away from walls and racks, to get an accurate reading. If your oven is consistently off, check the oven insulation and door gasket—poor insulation or a damaged gasket can cause heat loss, leading to inaccurate cooking temperatures. Before calibrating, ensure the door seals tightly and there’s no air leakage. Once you verify these components, compare the thermometer’s reading with your oven’s setting. If they don’t match, you may need to adjust the oven’s calibration or consider professional repair. Accurate calibration ensures your preheat timing is reliable, avoiding under- or over-cooked meals.
Compare Settings and Results
Since your oven’s displayed temperature may not always be accurate, it’s important to compare the settings with actual results. Use an oven thermometer to test the oven heat at various settings, then record the results. This helps identify if your oven needs sensor calibration or if the temperature is off. To compare effectively, create a table like this:
| Oven Setting | Actual Temperature |
|---|---|
| 350°F | 340°F |
| 400°F | 410°F |
| 450°F | 445°F |
| 500°F | 505°F |
| 550°F | 560°F |
If you notice consistent discrepancies, adjusting the sensor calibration can improve your oven’s accuracy and baking results. Additionally, understanding preheat timing can help optimize your cooking process and ensure consistent results.

Etekcity Infrared Thermometer Laser Temperature Gun 774, Meat Food Candy Oven Thermometer for Griddle Accessories, Heat Gun for Cooking Refrigerator Tools, Adjustable Emissivity & Max Measure, Orange
𝐕𝐞𝐫𝐬𝐚𝐭𝐢𝐥𝐞 𝐓𝐨𝐨𝐥𝐬: Infrared technology allows you to measure various objects at home and outdoors; Use it for 𝒎𝒆𝒂𝒕,…
As an affiliate, we earn on qualifying purchases.
As an affiliate, we earn on qualifying purchases.
Common Causes of Preheat Delays or Failures
Preheat delays or failures often stem from issues with the oven’s components or operation. A common cause is a faulty oven door that doesn’t seal properly, allowing heat to escape and slowing down the preheating process. Additionally, problems with the heating element can prevent the oven from reaching the desired temperature. If the heating element is damaged or burned out, it won’t generate enough heat to warm up the oven efficiently. Sometimes, the element may appear intact but isn’t functioning correctly due to loose connections or an internal fault. Regularly inspect the oven door for gaps or damage and test the heating element for continuity. Addressing these issues can markedly improve preheat times and ensure your oven heats reliably. Moreover, ensuring the oven operates in a safe environment and maintaining it regularly can prevent component failures and optimize performance.
Step-by-Step Troubleshooting for Preheat Issues

When your oven isn’t preheating properly, troubleshooting step-by-step can help identify and fix the issue quickly. First, verify the oven is plugged in and the circuit breaker hasn’t tripped. Check the oven’s temperature sensor for any damage or misalignment, as faulty sensors can prevent proper preheating. Confirm that the oven door closes securely; a loose door can hinder heating. Reset the oven by unplugging it for a few minutes, then power it back on. Always prioritize oven safety—avoid opening the oven during preheat to prevent accidents. If the problem persists, consider calibrating the thermostat or replacing faulty components. Understanding narcissistic traits such as manipulation or denial can sometimes help in troubleshooting if the oven’s issues are linked to internal control systems. Proper troubleshooting not only restores preheat functionality but also promotes energy savings by avoiding unnecessary heating cycles.
Tips for Improving Preheat Efficiency and Consistency
To enhance preheat efficiency and guarantee consistent results, start by using an oven thermometer to monitor the actual temperature inside your oven. Proper oven insulation helps retain heat, reducing the workload on the heating element and ensuring quicker, more stable preheats. Check that the heating element is clean and functioning correctly, as a dirty or faulty element can cause uneven heating. Improving insulation around the oven door minimizes heat loss during preheating, maintaining steady temperatures. Additionally, avoid opening the oven door frequently during preheat, which disrupts temperature stability. Regularly inspecting and replacing worn insulation and heating elements can considerably boost preheat consistency and efficiency, saving you time and energy while achieving better cooking results. Enhanced natural language processing techniques are also being integrated into smart oven systems to better adapt to user preferences and improve preheat accuracy.
When and How to Calibrate Your Oven’s Temperature Sensor

If your oven’s temperature readings seem off or inconsistent, calibrating the temperature sensor can restore accuracy. Sensor calibration involves adjusting the sensor’s settings to ensure the oven’s displayed temperature matches the actual temperature. You should consider calibrating your sensor if you notice uneven cooking, under- or overcooking, or inconsistent preheat times. To perform a temperature adjustment, first consult your oven’s manual to locate the sensor. Use an accurate oven thermometer to compare the actual temperature with your oven’s display. If discrepancies exist, follow the manufacturer’s instructions for sensor calibration, which may involve adjusting a calibration screw or entering a specific menu. Regular sensor calibration helps maintain precise temperature control and ensures your oven preheats correctly and cooks food evenly.
Fixing Mechanical and Electrical Problems Affecting Preheat
Mechanical and electrical issues can substantially delay or prevent your oven from preheating properly, leading to inconsistent cooking results. Faulty oven seals can cause heat loss, making it harder for your oven to reach the desired temperature. Problems with the power supply, such as a loose plug or damaged cord, can interrupt the heating process. To fix these issues:
- Inspect and replace worn or damaged oven seals
- Check that the power cord is securely connected
- Test the outlet for proper voltage
- Verify that the oven’s internal wiring isn’t damaged
Addressing these mechanical and electrical problems ensures your oven can preheat efficiently. Always turn off the power before inspecting electrical components, and consider professional repair if you’re unsure about handling electrical repairs yourself.
Preventative Maintenance for Reliable Preheating
Regularly performing preventative maintenance on your oven guarantees it preheats reliably and efficiently. Start by inspecting the oven insulation; damaged or worn insulation reduces heat retention, causing uneven preheating. Conduct control panel diagnostics to identify faulty sensors or control issues that could delay preheating times. Clean heating elements and fans to ensure peak operation. Schedule regular checkups to catch problems early before they affect performance. Use the table below to prioritize maintenance tasks:
| Maintenance Task | Frequency |
|---|---|
| Inspect oven insulation | Every 6 months |
| Test control panel diagnostics | Annually |
| Clean heating elements | Monthly |
| Check door seals | Quarterly |
| Calibrate temperature sensors | Annually |
This routine keeps your oven in top shape, ensuring consistent preheat times.
Frequently Asked Questions
Can Preheat Issues Affect Cooking Times and Food Safety?
Preheat issues can definitely affect cooking times and food safety. If your oven isn’t properly calibrated or takes too long to preheat, your food might not reach the right temperature, risking undercooking or uneven baking. This can compromise food safety and baking consistency. Always verify your oven preheats correctly and maintains the right temperature to avoid these problems, and calibrate it regularly for peak performance.
How Often Should I Replace My Oven’s Temperature Sensor?
Your oven’s temperature sensor is like its heartbeat—when it falters, the whole system suffers. You should replace it every 3 to 5 years to guarantee accurate readings and extend your oven’s longevity. Keep an eye out for inconsistent temperatures or uneven cooking, which signal it’s time for a sensor replacement. Regular maintenance keeps your oven running smoothly, so your meals turn out perfectly every time.
Are There Specific Oven Models More Prone to Preheat Problems?
Yes, certain oven models are more prone to preheat problems, especially those with complex oven designs or outdated control panels. If your oven has a digital control panel prone to glitches or a unique design that affects heat distribution, you’re more likely to encounter preheat issues. Regularly inspect the control panel for issues, and consider upgrades if persistent problems occur, ensuring your oven heats properly every time.
What Safety Precautions Should I Follow During Oven Troubleshooting?
Think of oven troubleshooting like walking a tightrope—you need focus and caution. Always unplug the oven before inspecting or repairing to prevent electrical shock. Wear oven mitts to avoid burns and ensure good ventilation to avoid inhaling fumes. Keep flammable materials away and never bypass safety features. Following proper oven safety protocols minimizes troubleshooting hazards, keeping you safe while you fix or diagnose issues effectively.
Is It Worth Professional Repair for Persistent Preheat Failures?
If your oven persistently fails to preheat, it might be worth investing in professional repair. While DIY troubleshooting can be cost-effective for minor issues, ongoing failures could signal more complex problems needing expert attention. Professional repairs ensure safety, proper diagnosis, and long-term reliability, saving you money and frustration down the line. Consider the repair cost versus replacement, and if you’re unsure, consulting a professional can give you peace of mind and better results.
Conclusion
By mastering your oven’s preheat timing, you’ll turn every dish into a culinary masterpiece faster than you can say “perfect bake.” Keep an eye on signs of trouble, test your temperature accuracy regularly, and perform preventative maintenance. When issues arise, troubleshoot step-by-step to fix them swiftly. With these tips, your oven will preheat flawlessly every time, ensuring your cooking game stays unbeatable—because nobody wants their baking plans to be derailed by a temperamental appliance.